The article is just go through for Microsoft Active Directory Domain Migration tool prerequisites & installation, it will handy for cross forest Active Directory migration projects.
Windows Server AD Migration Tool
The Windows Server Active Directory Migration Tool (ADMT) V3.2 is a free utility that allows you to migrate objects (users, computers, groups, etc.) from one Windows Server Active Directory domain/forest to another. .The latest version of the Active Directory Migration Tool (ADMT), version 3.2, is for Windows Server 2008 R2. ADMT 3.2 isn’t supported on Windows Server 2012, and there are currently no plans for a Windows Server 2012 version.
Installing ADMT in the Target Domain
ADMT can be downloaded from the Microsoft Connect (http://go.microsoft.com/fwlink/?LinkId=401534) site. It requires a preconfigured instance of SQL Server for its underlying data store. If you use SQL Server Express, the ADMT console must be installed and run locally on the server that hosts the SQL Server Express database instance. If you use a full version of SQL Server, you can install and run the ADMT console on a remote computer, and you can run multiple ADMT consoles on different remote computers.
The rest of this section covers the following installation issues:
- Prerequisites for installing ADMT
- Install ADMT
Prerequisites for installing ADMT
- In Control Panel, use Add or Remove Programs to remove all previous versions of ADMT.
- ADMT must not be installed on a server that runs Server Core or a read-only domain controller (RODC).
- Configure a SQL Server database installation with an ADMT instance. You can either download and install SQL Server Express locally or create a database instance for ADMT from an existing SQL Server database.
Install ADMT
In the ADMT download package, double-click admtsetup32.exe & follow the screen shots below for installation.
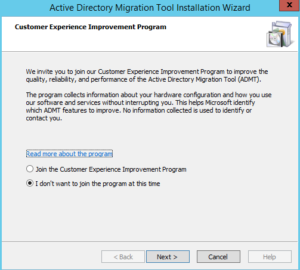
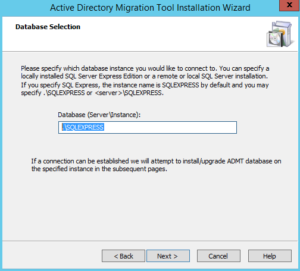
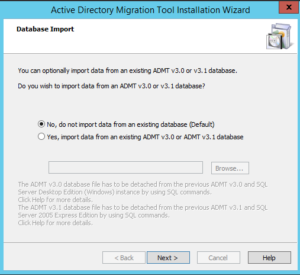
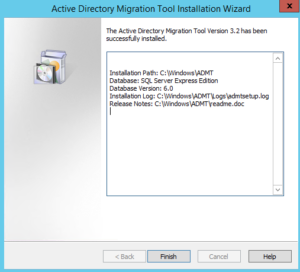
After completion of the installation, open Administrative Tools and find out Active Directory Migration Tool

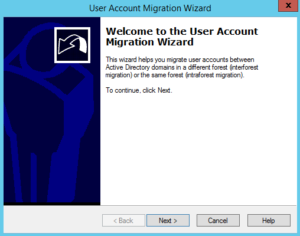
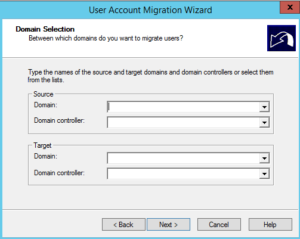
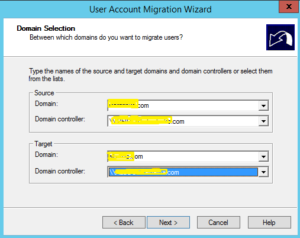
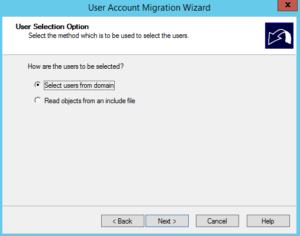
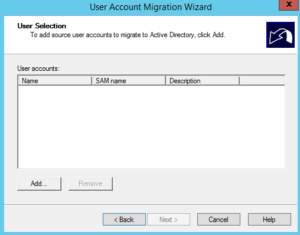
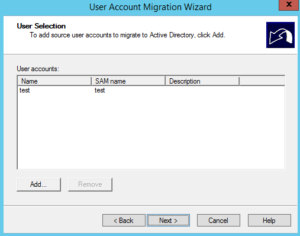
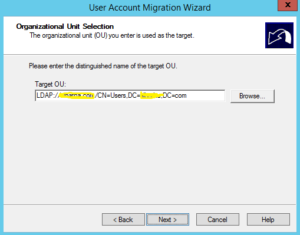
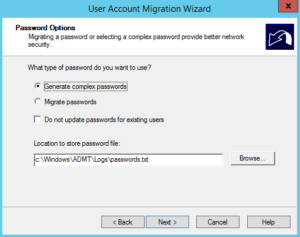
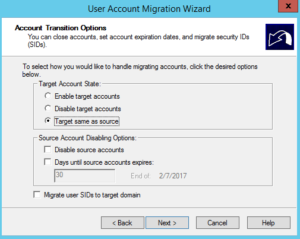
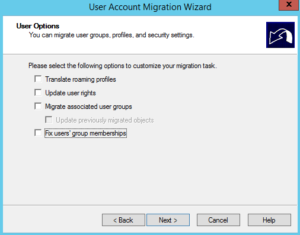
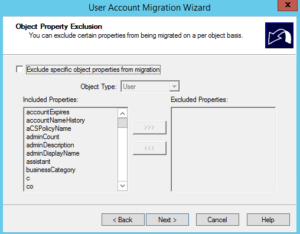
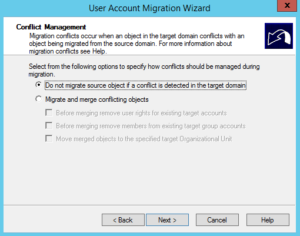
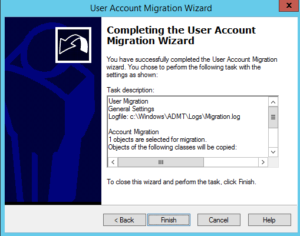
For user account migration, right click on ADMT in MMC and select User Account Migration and follow the steps below.
Comming up PES installation & configuration at next post.